Creating an online booking system doesn’t require custom development or a big budget — for the vast majority of small businesses, it’s a configuration process on an existing tool, not a build-from-scratch project. Here’s the actual step-by-step, based on patterns that hold across every business type compared on this site.
Step 1: Identify Your Actual Booking Requirements First
Before choosing a tool, get specific about what your business actually needs: Do you sell single appointments or packages? Do multiple staff members need separate calendars? Does a booking need a deposit or full payment upfront? Do you need HIPAA compliance or another regulatory requirement? Answering these first prevents picking a tool based on price or popularity, then discovering a missing feature after client data is already in the system.
Step 2: Choose a Tool That Matches Those Requirements
Match your specific needs to a tool’s actual strengths rather than the most popular option by default: Setmore or Square Appointments for a straightforward setup with free payment collection; Acuity Scheduling for packages, recurring appointments, and detailed intake forms; Calendly for the simplest possible meeting-style booking; Vagaro or GlossGenius for beauty/wellness-specific features. See our guide to common mistakes when choosing scheduling software for a fuller breakdown of this decision.
Step 3: Set Your Actual Availability
Configure working hours accurately, including any variation by day of the week, and block out recurring commitments (lunch, admin time) that shouldn’t be bookable. Most tools let you set different rules per service or appointment type — use this rather than a single blanket schedule if your business has services of meaningfully different length.
Step 4: Build Your Service Menu With Real Durations
List each bookable service with its actual duration, not a rounded estimate — a business that sets every service to a flat 30 minutes when actual durations range from 20 to 90 minutes will either waste calendar time or run behind by midday. Add buffer time between services if your business needs it (see our guide on preventing double bookings for more on this).
Step 5: Connect Your Calendar With Real Two-Way Sync
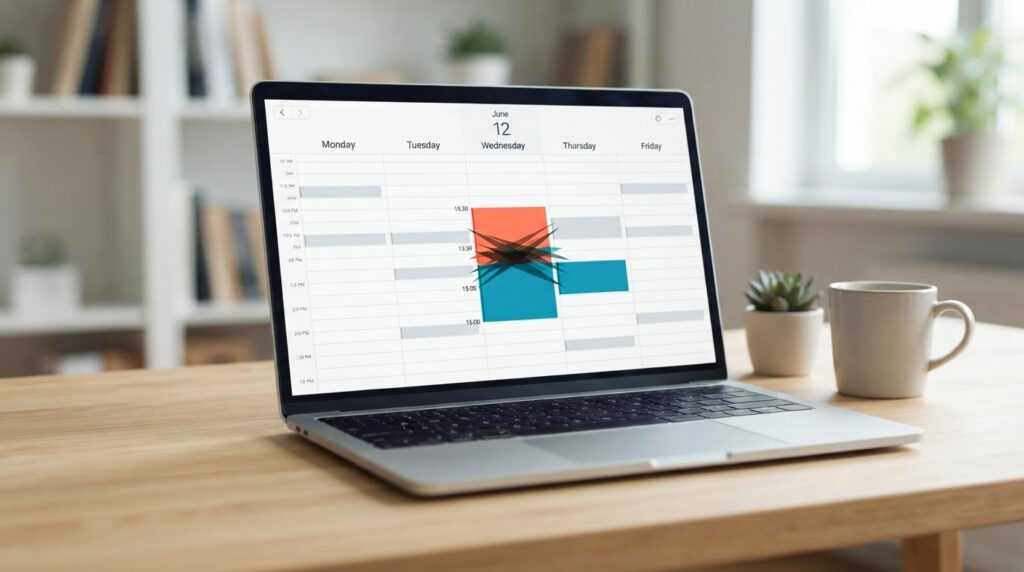
Connect your existing calendar (Google, Outlook, iCloud) so that bookings appear there automatically and existing events block new bookings — confirm this is genuinely two-way, not just a one-directional feed, since one-way sync is a common source of accidental double bookings.
Step 6: Set Up Payment Collection If Relevant
If your business benefits from deposits or full payment at booking (see our research on why this matters for reducing no-shows), connect a payment processor at this stage — Stripe, Square, and PayPal are the most commonly supported options across the tools compared on this site.
Step 6.5: Write a Clear Cancellation and Rescheduling Policy
Decide your actual policy before launch, not after the first awkward cancellation: how much notice is required, whether a deposit is refundable within that window, and what happens for a genuine no-show versus a last-minute reschedule. State this clearly and visibly at the point of booking, not buried in a separate terms page a client is unlikely to read. A clear, visible policy tends to reduce disputes precisely because expectations are set upfront rather than negotiated after the fact when a client is already frustrated.
Step 7: Configure Reminders
Set up automated reminders, preferably including SMS if your tool supports it — research reviewed on this site shows text reminders reduce no-shows more reliably than email alone. Write reminder message copy that states clearly what’s at stake (a cancellation fee, a lost deposit) rather than a generic “see you soon,” which measurably outperforms vague reminders based on the studies covered in our no-show research.
Step 8: Test the Actual Client Booking Flow Yourself
Before going live, book a test appointment as if you were a first-time client — this catches confusing steps, broken links, or missing information that’s easy to miss from the admin side. Test specifically on a mobile phone, since a meaningful share of real bookings happen there.
Step 9: Share Your Booking Link Everywhere Clients Actually Look
Add the booking link to your website, social media profiles (Instagram bio, Facebook page), Google Business Profile, and email signature. A booking system that’s technically live but hard to find doesn’t capture the impulse-driven bookings that make 24/7 self-service worth setting up in the first place.
Step 10: Review and Adjust After the First Few Weeks
Check which appointment types are actually being booked, whether no-show rates match expectations, and whether any step in the flow is causing drop-off (some tools show where prospective bookers abandon the process). Adjust availability, buffer time, or reminder timing based on real usage rather than assumptions made before launch.
Frequently Asked Questions
Do I need a developer to set up an online booking system?
No — for the vast majority of small businesses, this is a configuration process on an existing platform (Setmore, Acuity, Calendly, etc.), not custom development.
How long does it actually take to set up a booking system from scratch?
For a solo operator with a straightforward service menu, a few hours is realistic — most of that time goes to accurately setting service durations and testing the client-facing flow, not technical setup.
Should I start with a free plan or pay from day one?
Starting free (Setmore, Square Appointments, or Calendly’s limited free tier) is reasonable if your needs are simple — upgrade once you hit a specific limitation (an appointment cap, missing payment collection, no SMS) rather than assuming you need a paid plan preemptively.
What’s the most commonly overlooked step when setting up a booking system?
Testing the actual client-facing booking flow yourself before launch — many setup issues (confusing steps, broken mobile experience, unclear service descriptions) are invisible from the admin dashboard and only show up when you go through the flow as a first-time client would.
See our full guide to what scheduling software actually costs and free options to start with.